
 Join Us
  Join Us
Maintenance of a motorbike: Tyres:
· Pressure and wear check every 15 days
· Tyre change after four years, with little tread or defects.
The most important point to be able to drive safely and with peace of mind is to make sure the tyres are fit for riding. Their condition and pressure must be checked periodically, after all, the tyres are in contact with the asphalt, and any failure in this area can be critical. No matter how powerful your brakes are, or how furious your engine is, your motorbike is only as good as the grip provided by the tyres you’ve fitted.
There is a huge variety of tyres for all tastes and budgets, but all must comply with the same regulations. In the case of four-wheelers, the traffic regulation states that the minimum tyre tread depth must be 1.6 mm, in the case of two-wheelers this measurement doesn’t exist! This does not mean that we can leave it until it looks like a MotoGP slick tyre!

In an MOT or routine traffic control you will be fined if the your tyres don’t have tread on the central strip, although it is true that some sport tyres hardly have any tread at all. The recommendation is to change the tyres when the wear indicators are visible. Remember that the contact surface of a motorbike’s tyres with the asphalt is minimal – the area of a large coin. Worn down tread greatly increases the risk of aquaplaning.
We must also make sure that there is no deformation, cracks, blisters or any type of observable defect. In addition, it is essential that each tyre is inflated to the correct pressure, which can be checked in the user manual. Remember that this should be measured when the tyres are cold!
When changing the tyres, be sure to select the appropriate size, and make sure they are adapted to your motobike’s set up. There are tyres for tourism, mixed, sports, winter motorbikes etc. Consult your local garage and let them take care of mounting and balancing so you can ride with total peace of mind. And do not forget, tyres lose their effectiveness after four years from their manufacture, although they may seem in good condition it is advisable to change them.
Maintenance of a motorbike: Brakes:
· Wear check every three months or 5000 km
· Fluid replacement every two years
The most powerful component of a motorbike is its brakes. It is very important that these are in perfect working order so the motorbike can be in stopped in the fastest and safest way possible.
Depending on our motorbike, checking and replacing the brake components will be more or less simple to do.
The vast majority of current motorbikes have disc brakes on both axes. The condition of the disk is easy to check visually. We can see that there are no cracks or bumps on the surface and that its the right thickness. The pads can also usually be observed from the outside. When there is little friction material left (less than 2 mm) it is advisable to change them to prevent the metal plates from rubbing against the discs.

Changing the pads is usually very simple. Simply loosen the screws that attach the caliper to the fork or swingarm. Don’t squeeze the brake lever while the caliper is loose! Then apply pressure to the old pads in order to remove the piston or pistons from inside the caliper, this can be done with a specific tool or with a wide flat-head screwdriver. Unscrew the bolt or screws (depending on the type of clamp) that is usually placed on the outside of the pads and remove them. Insert the new pads, their bolts or screws, and mount the clamp back in place. If they are floating calipers, remember to clean and grease the screws that they slip onto. It is important to tighten the screws with a torque spanner to their corresponding torque. If in doubt, consult your local garage.
The procedure for changing the discs is equally simple, although it does require removing the wheel from the motorbike. After doing so, it will only be necessary to loosen the screws that attach it to the rim, insert the new one, and tighten it to its corresponding torque, doing so in a diagonal pattern (tightening the screws located at opposite points) so that its fixed evenly.
For drum brakes, it will be necessary to remove the tyre and open it to check its condition and change the inner shoes.
The brake fluid has a tendency to absorb moisture (it is hygroscopic), so over time it loses efficiency and lowers its boiling point. If we leave it for a long time without changing it, in addition to ending up without any brakes due to over-heating (bubbles can appear in the system when reaching boiling point) the contained water can corrode the interior of the brake circuit, affecting the pump and caliper.
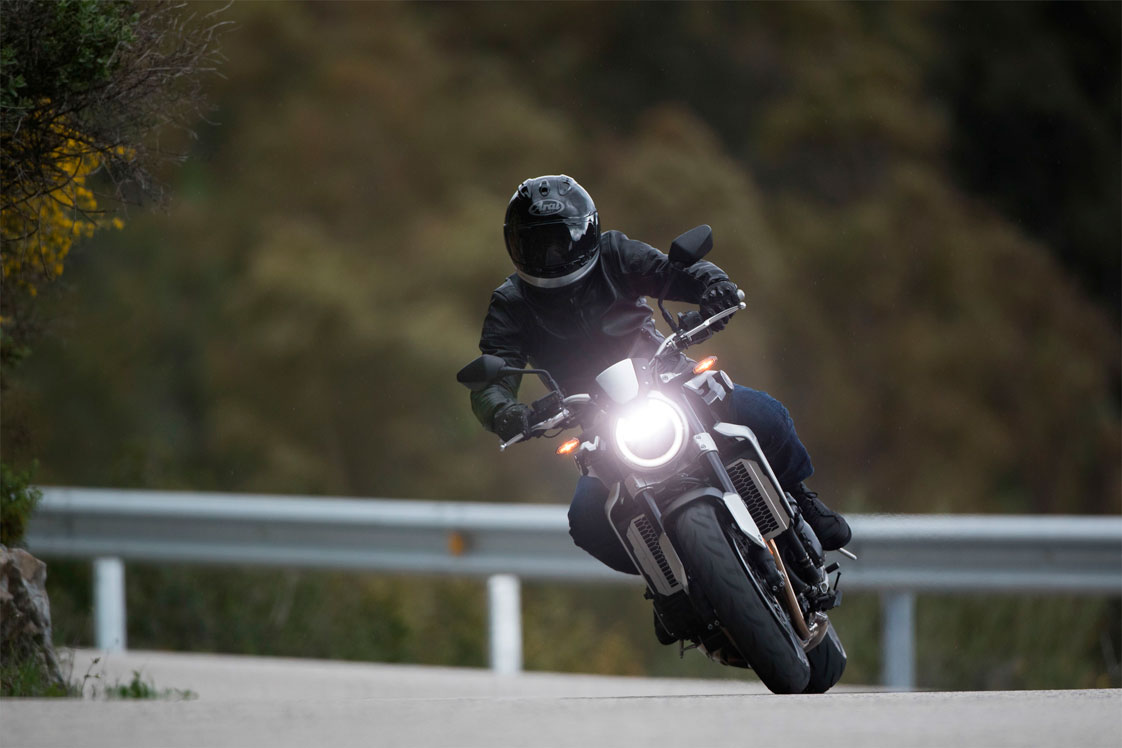
Lights:
·Check every 15 days
·Never touch the halogen bulbs with your fingers
Maintenance of a motorbike: Lights
· Check every 15 days
· Never touch the halogen bulbs with your fingers
A motorbike’s lights are a fundamental element of safety, both to help the rider see and be seen. This is why it is extremely important that we keep our motorbike’s lights in perfect working order.
After starting up the motorbike proceed to turn on each of the lights and check their lighting capacity.
The brake light may fail due to the fact that it has blown or because the lever or foot switch is in poor condition.
If you have to change a bulb, check the user manual to see how to do so and the type of bulb that is required. Remember that you should not touch the glass with your fingers, since the grease from our fingers can cause the bulb to blow quickly.
At the moment many vehicle manufacturers have begun to incorporate LED lights, some using them for each and every one of the lights. If this is the case, you are in luck, since the they will last a long time. Of course, in the event of a failure it will be necessary to visit your local garage to see what the problem is.